How To Replace A Battery
We all know that sometimes our four-wheeled friends need a little extra TLC.
This guide is designed to take you through the process of replacing your car battery in a efficient and safe manner.
Don’t be scared, it's easier than it seems!
Step 1: Diagnose the Battery
Before you dive into action, make sure that the battery is indeed the culprit.
Batteries can be in need of replace for numerous issues, and can be determined from symptoms such as:
-The car is sluggish to start.
- The car failing to start.
- Lights on dashboard, infotainment screen, or exterior of car are weak.
- Warning signals on your dashboard.
- A ticking/clicking sound when turning on the car.
- Battery acid leaking from the current battery.

Step 2: Gather Your Tools
For this task, you'll need a few essentials:
-A compatible replacement battery. (Same size, terminal location & polarity, same CCA or slightly higher)
-Adjustable wrench or socket set
-Battery cleaning solution
- Safety gloves and goggles
Step 3: Safety First!
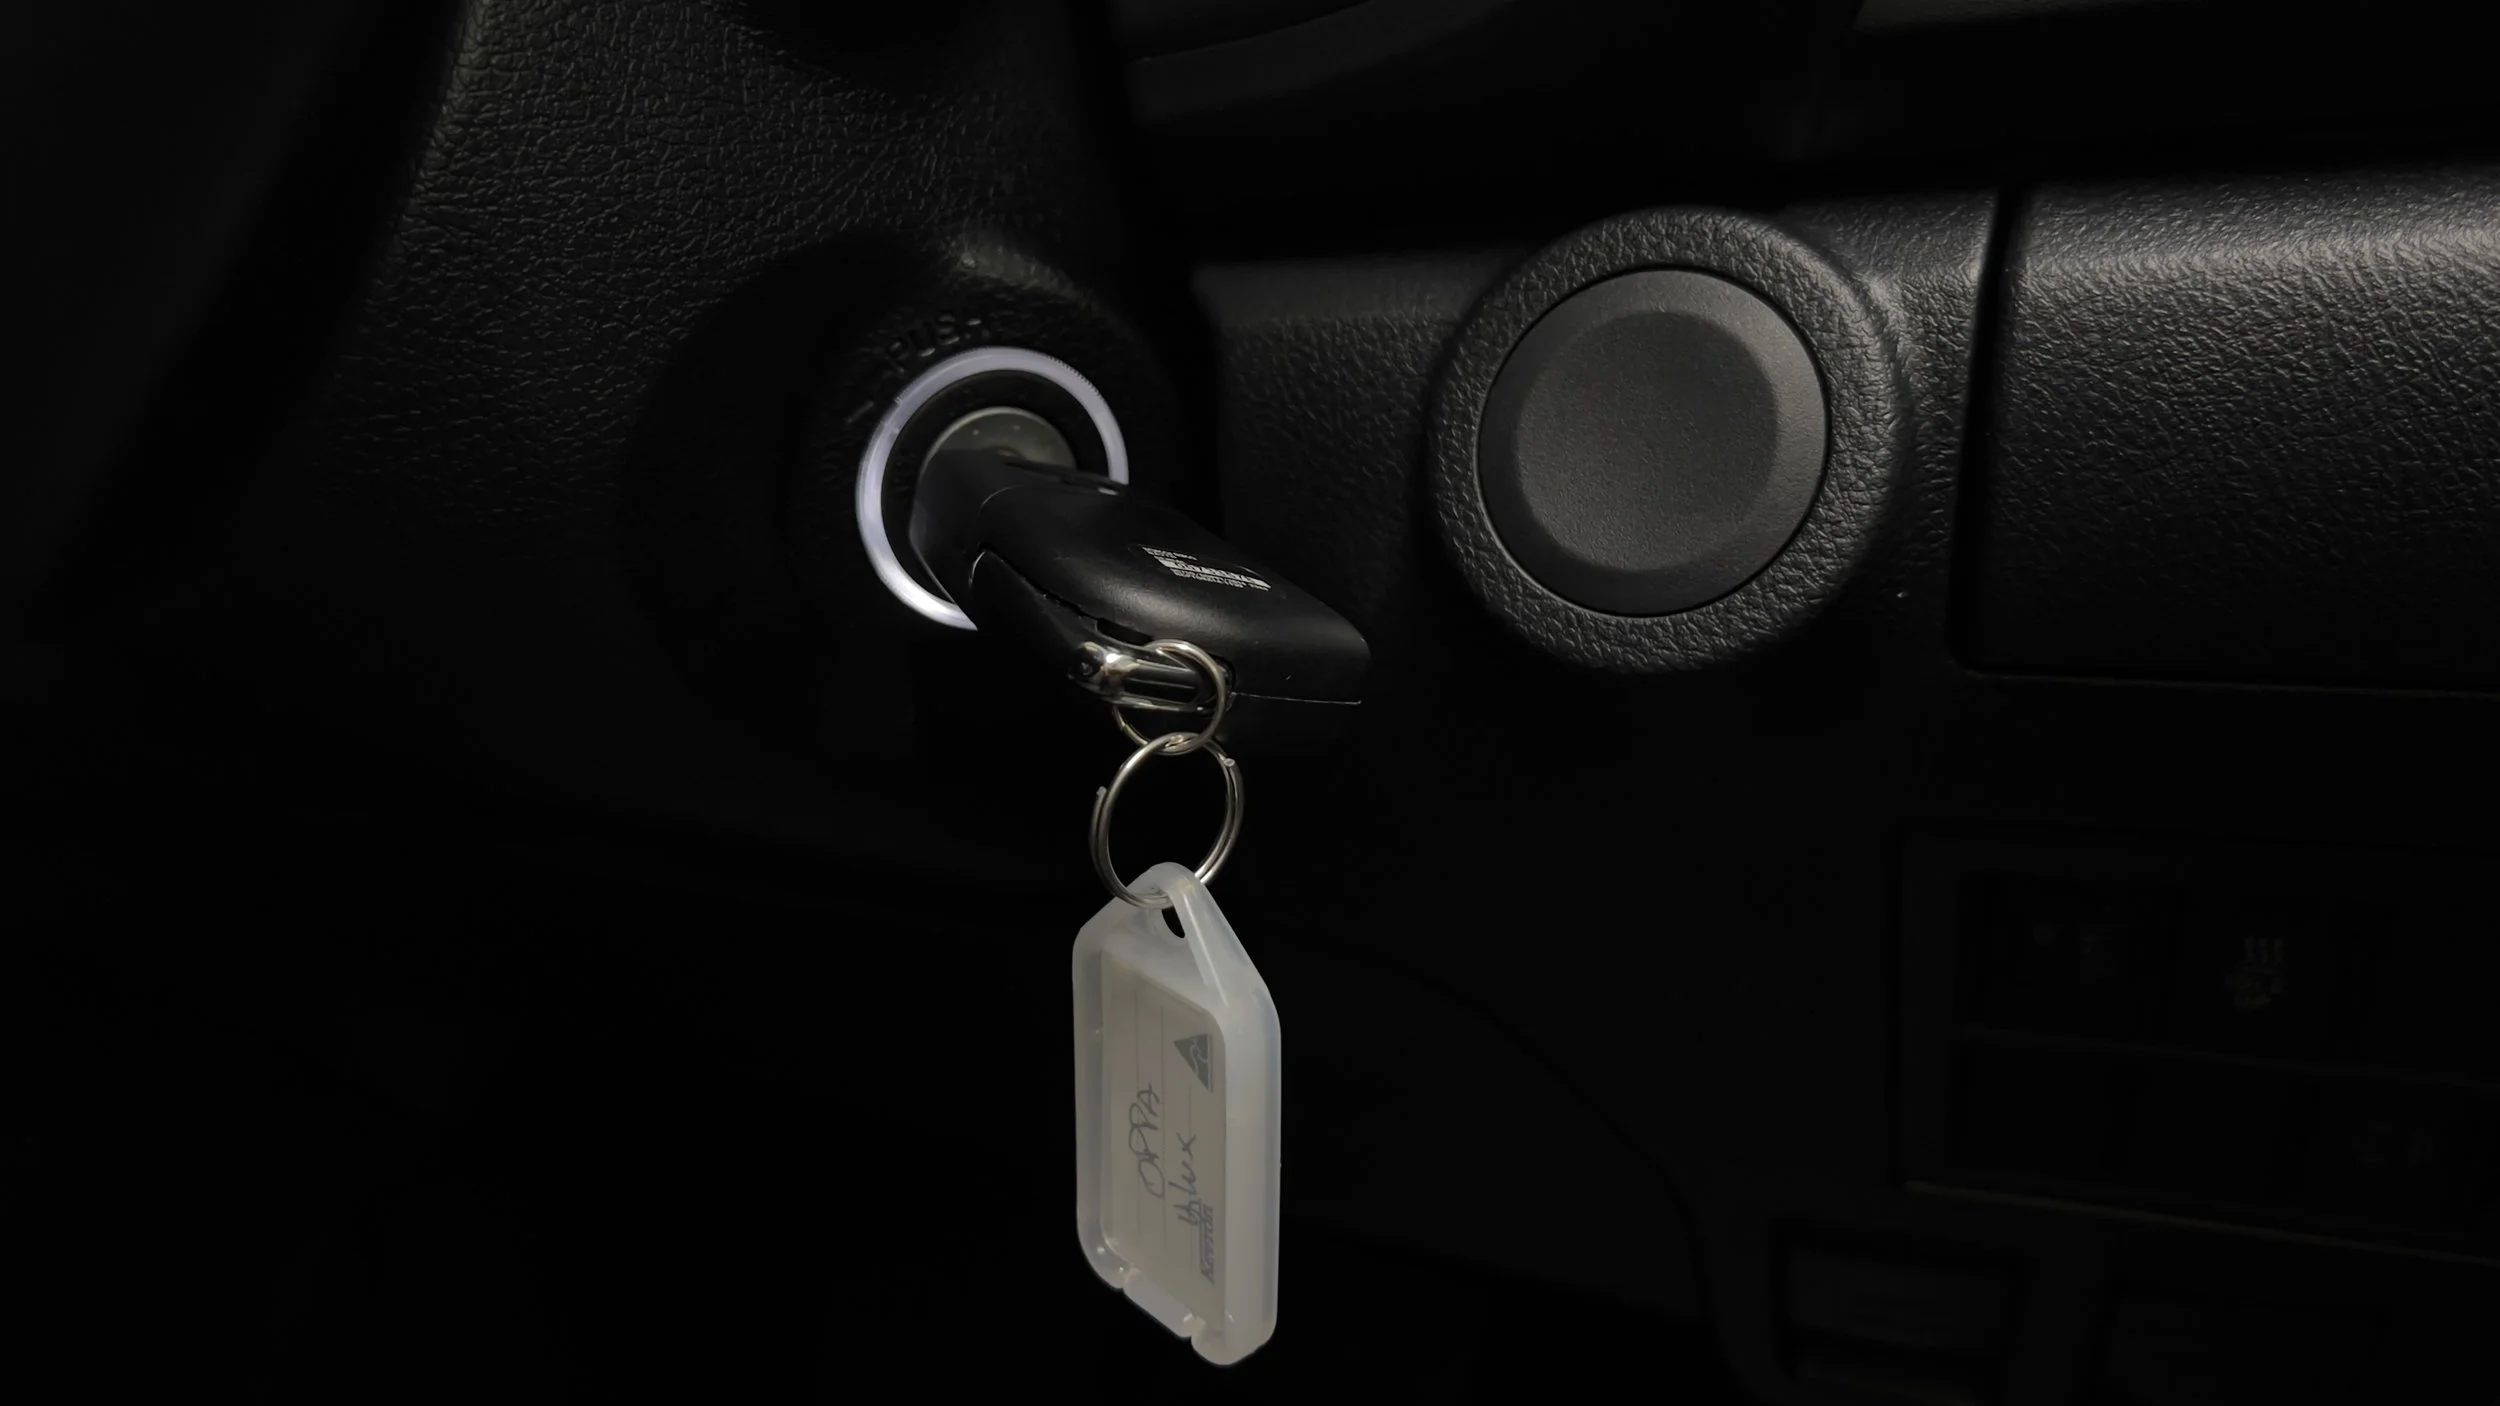
Ensure your vehicle is parked in a safe location, the engine is turned off, the key is removed from the ignition, and you're wearing your safety gear.
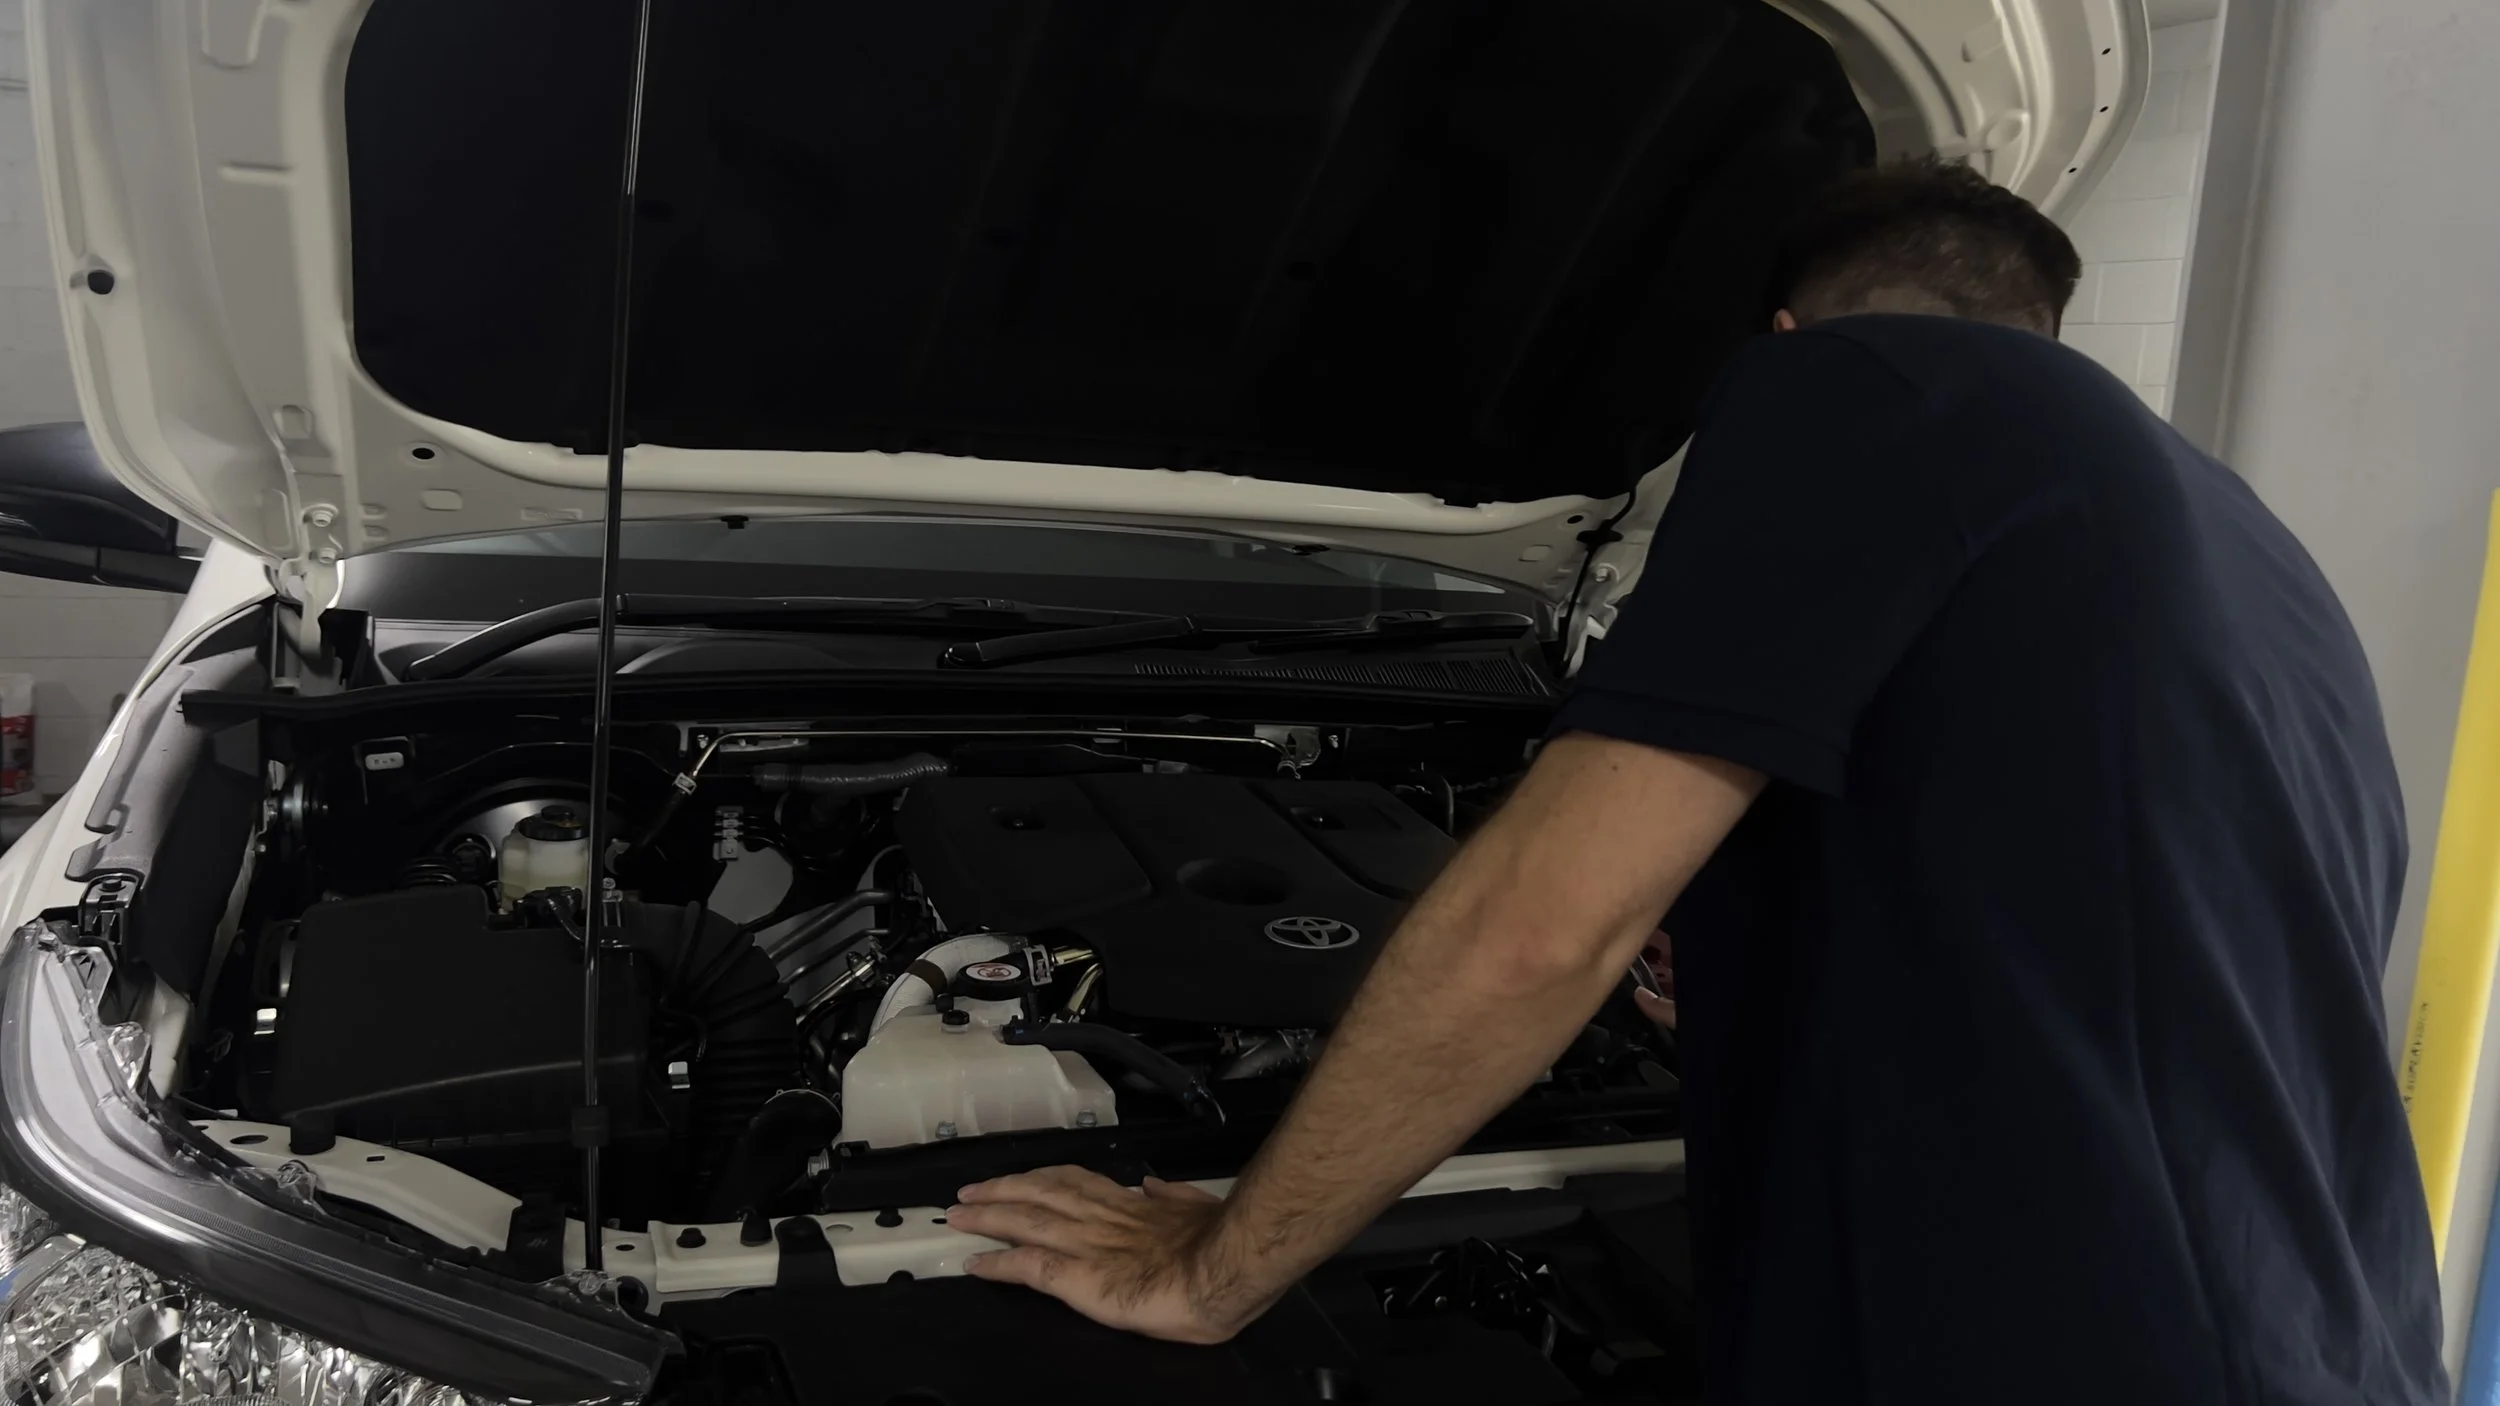
Pop the hood and locate the battery. If you're unsure, refer to your trusty car manual.
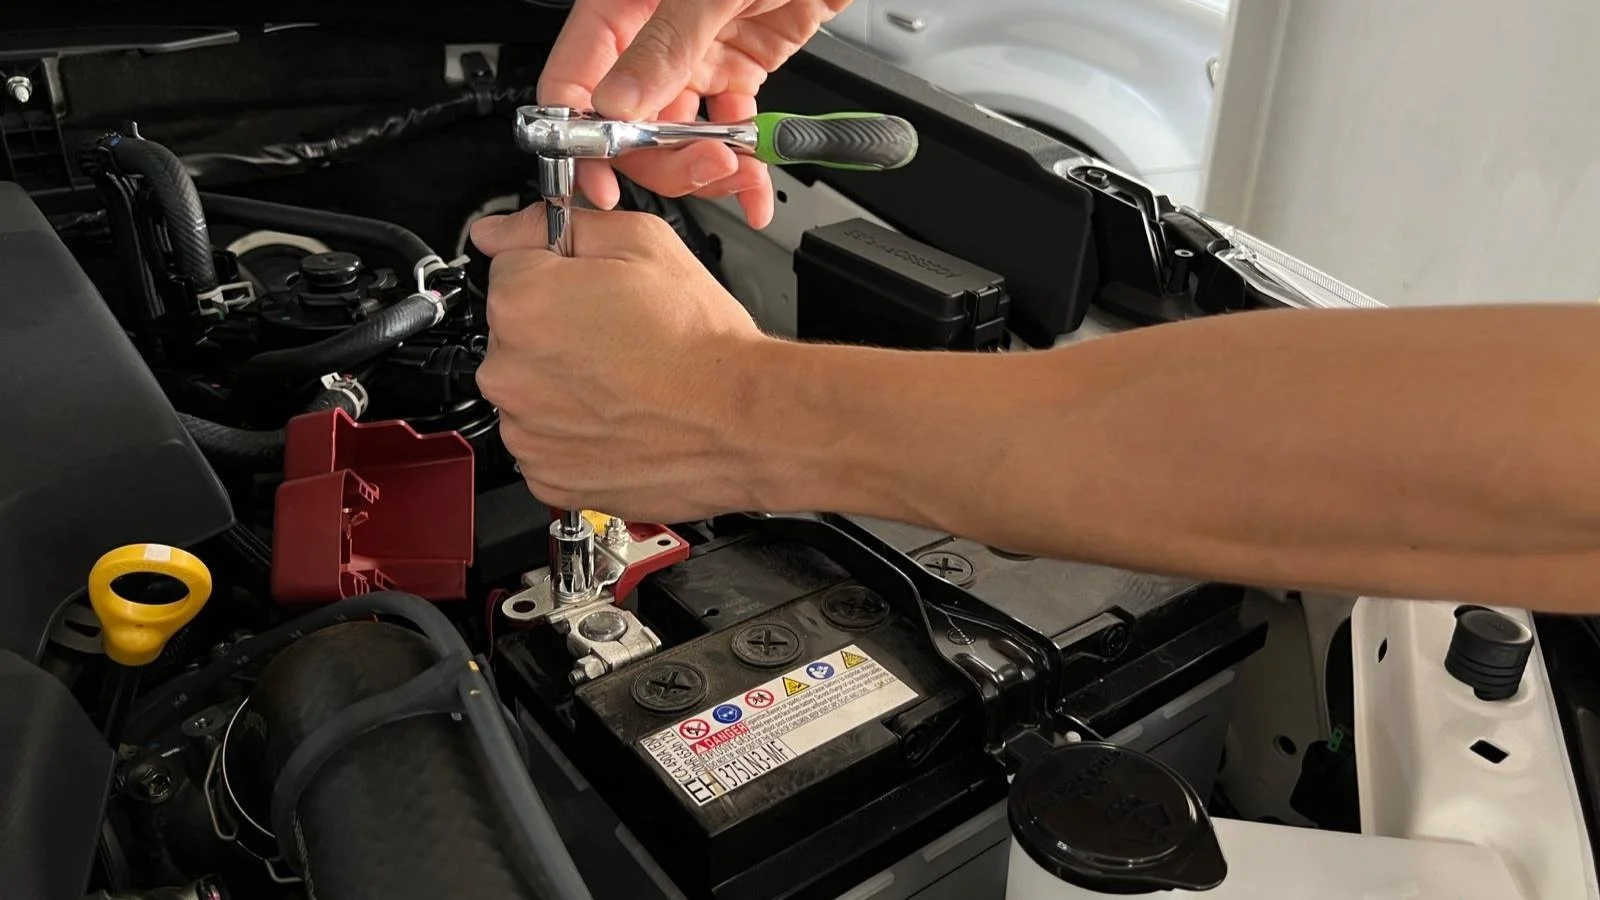
Step 4: Disconnect the Old Battery
Use your adjustable wrench or socket set to loosen and remove the negative (black) cable first, followed by the positive (red) cable.
Carefully lift the old battery out of its tray. Some batteries will have brackets to hold them in place, if so, loosen the connecting points to remove.
Step 5: Install the New Battery
Carefully place the new battery into the tray. If there was a cover around the old battery, fit this to the new battery.
Reconnect the positive (red) cable first, followed by the negative (black) cable.
Refit the battery clamp, if there is one.